In SmartPrintTransfers, we offer a variety of plastisol and water-based heat transfers according to different requests. Today we are going to talk about how is screen print transfers made.
What are Screen Print Transfers
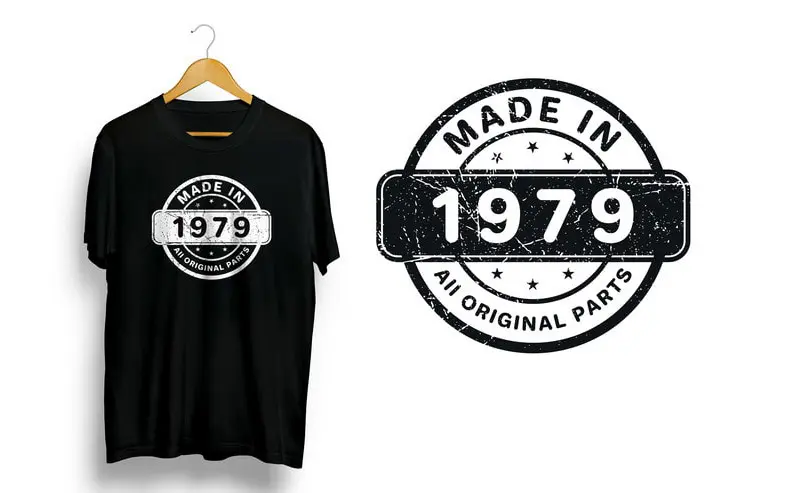
Screen Printed Transfers, also known as plastisol heat transfers, combine the advantages of both screen printing and heat transfers. Having the same final print as screen printing, but applying it same as heat transfer, which essentially prints the image onto heat transfer release film instead of an actual garment.
In this way, you only need a heat press to transfer the screen print transfers when you receive them. The ink adheres to the garment when the transfer film is heat pressed; after peeling off the base film, you will see the graphic image transfer to the surface perfectly!
Equipment and Material Required to Make Screen Print Transfers
Before we start our tutorial for printing screen print transfers. Let’s talk about the equipment and material you are going to need:
Basically, a screen print transfer is screen print the artwork onto a transfer paper instead of directly onto a garment. So you will need all kinds of standard screen printing equipment. Including:
- Screen printing press
- 110-156 mesh screens
- Screen Printing Frames
- Opaque plastisol ink (Depend on the thickness of the ink layer)
- Squeegees
- Film Positives
- UV exposure unit (to expose the mesh of a screen)
- Photo Emulsion (for Screen Printing)
- A Scoop Coater (to Apply Emulsion)
- Transfer paper or Transfer film
- Transfer adhesive powder
- Conveyor dryer
- Inkjet Printer (for screen printing positives)
- Heat press
Tip: If you mix adhesive into the opaque plastisol ink, it will give it more volume and generates a thicker buildup onto your transfer paper.
How to Print Screen Print Transfer
Preparing Artwork
To print a shirt, you of course have to have something to print on the shirt. Whether you design the artwork yourself or a customer brings it to you, you can use software like Adobe Illustrator or CorelDRAW to get started. If you want to Screen Printing Multiple Colors, when a design has more than one color, you will need to separate each color in the design so that each can be printed individually.
Once the artwork is ready. The next thing you need to do is create a silk screen for each color.
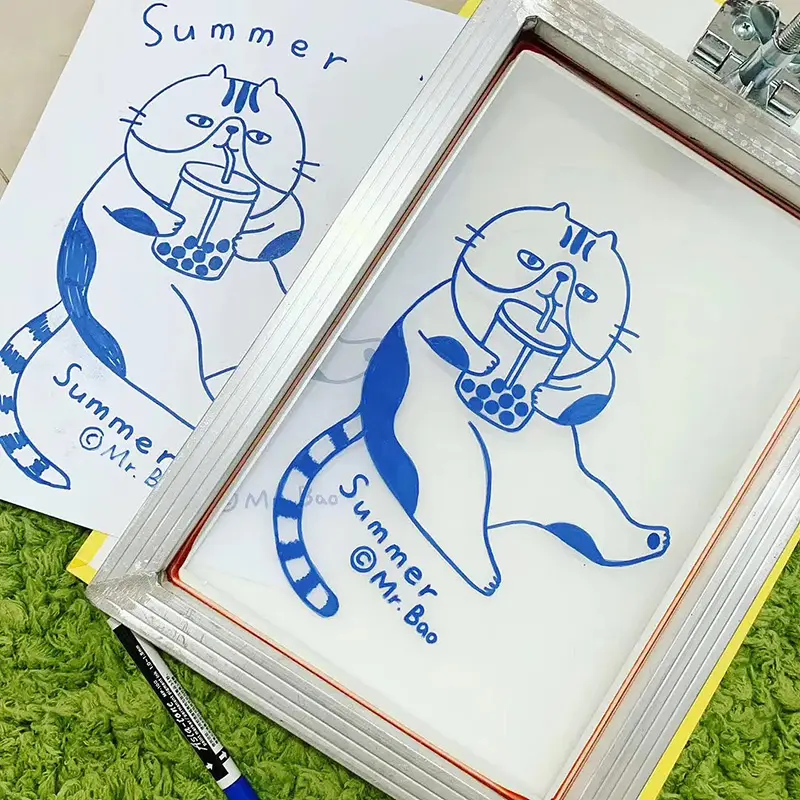
The next step is to print each color of your artwork on the film positive with an Inkjet Printer. A film positive is a transparency film you can print designs on it. The dark print on the positive film will block light from your exposure unit during the screen exposure process. Remember the screen-printed images need to print in reverse on the positive film.
Preparing Your Screen
Now you need to coat the silkscreen. Take the photo emulsion and coat your silkscreen using your squeegee or your scoop coater. Place your silkscreen in an upright printable position. Push your scoop against the mess and roll it up to dam up the emulsion. Pull it up to the top of the mesh adding pressure that makes a zipping sound. Remove the extra emulsion if have. Then repeat the same process on the other side. Once done you should have a smooth, evenly distributed film on both sides of your mesh.
Place the screen in a dark room and position it upright or hanging so that none of its sides are on the ground. You can use a fan if don’t have a drying rack. Leave the screen for a few hours to allow the emulsion to completely dry.
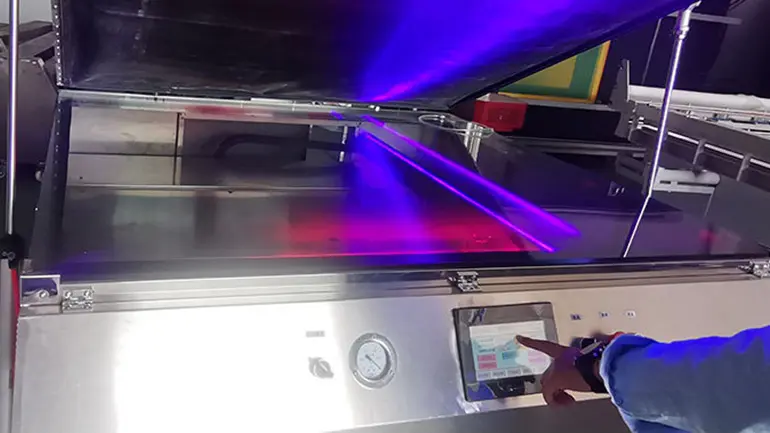
Burn the Screen
Start to burn the screen. Lay the black sheet over the silkscreen frame. Then place the screen in the UV exposure unit or you can use a UV lamp instead. Follow the instruction for your UV exposure for the recommended distance. When the exposure is done, the transparency should have adhered to the screen.
Clean Screen
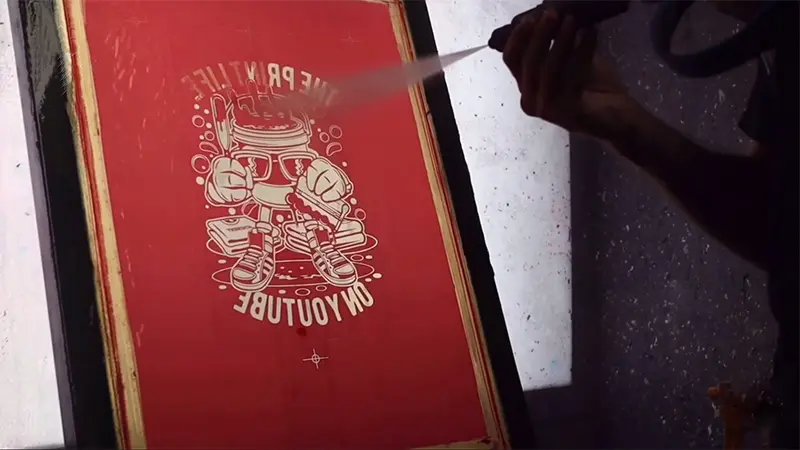
Place the screen over a sink with access to cool water. Then use a hose to wash out the emulsion until the screen is clean. Dark inks will stain the material of the screen, but this will not affect future prints. Just make sure to remove all of the emulsion. Now the screen is ready for screen printing.
Screen Printing the Heat Transfer
Now you can press the Plastisol ink to the heat transfer paper by using a squeegee. If your design has multiple layers of color, apply the dominant color or the black outline first, then smaller areas of color.
The process is almost the same as screen printing except there is an extra step for producing a heat transfer film. You need to Sprinkle the transfer adhesion powder over the print before the ink gets dry. Once the ink is dry, it can’t stick well with the adhesive powder.
Cascade the whole powder over the entire printing area and just tap the paper to remove excess powder.
Cure the transfer
Finally, we get to the last step of the screen-printing process, cure the transfer. It is one of the most important processes. If the ink does not cure fully, it will crack, fall apart, and not last for long. The best choice to cure the transfer is to use a commercial dryer such as a conveyor dryer. The temperature will be based on the ink and paper you have used in your transfer, but it will usually be 180–250º Fahrenheit.
Once it’s cured, the screen printed transfers are all set to get heat pressed.
Heat Pressing onto Your T-Shirt: A good starting point is at the 320ºF for about 12-15 seconds. If you are using “cold peel” paper, let the transfer cool before peeling off the back. For a “hot peel,” you can peel after pressing.
Conclusion
Now that you have some ideas for how to make screen print transfers. There are still lots of detail we can cover in this article. The process is really complex compared to other heat transfers. Though you can order the screen mash from the local supplier instead of making it by yourself. Which can save you lots of trouble. If so, I think it will be a better choice to order screen print transfers from a professional supplier directly.
Obviously, screen print transfer is not recommended to make it at home. The cost will extremely high for small runs. That’s the same reason we don’t produce screen printed transfers in low quantity. As there’s already a better option—DTF transfer. Almost the same final print but at a much lower cost when ordering a small volume.