Heat Transfers Application
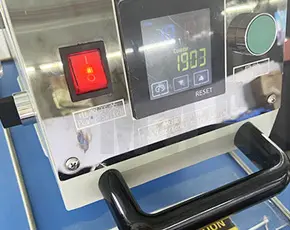
1. Set The Heat Press
TEMPERATURE: 320ºF/ 160℃
PRESSURE: Medium(11-13 lb)
Put the T-shirt on the flat pad and heat press for 3-5 seconds, this process will release the wrinkles and moisture from the fabric.
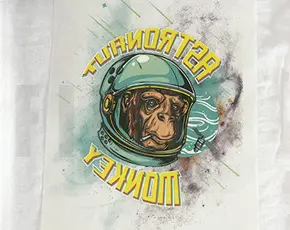
2. Position & Press
Place the transfer on the shirt, image facing up. Push the press handle to start and apply for 5-6 seconds.

3. Hot Peel
It’s hot peel now, just peel off the sheet in a smooth, even motion.

4. Press one more time
To enhance the final durability, heat press again for 2-5 seconds after peeling the film off.
Once done, you will see your artwork transfer to the surface perfectly.
Heat Transfers Troubleshot?
—CRACKING:
Cracking is 99% of the time caused by not enough pressure. Make sure your press is set to be hard to open and close. It is recommended that you use 60PSI. All screens will eventually crack, it is just the nature of the ink but the proper application will make them last a long time.
–STICKING:
If your transfer is sticking to the transfer paper and not releasing you will need to up your temp a few degrees and add extra pressure. Your paper should easily peel off leaving behind the perfect transfer.
–PEELING:
If your transfer is peeling up from your shirt this means that the transfer wasn’t properly applied to your shirt. You need to up your temp and pressure.
Noted:
— Each heat press is different. It is recommended that you test your press at different pressure/temperature/time settings to determine the best settings for you.
— Please increase the temperature to 330-340ºF if there are lots of tiny portions or small letters in your design.
–NOTE:
Each heat press machine is slightly different. It is recommended that you test your press at different pressure/temperature/time settings to determine the best settings for you.
How does Heat Transfer work?
Heat transfers are the fastest and easiest transfer to use. It takes only 10 to 12 seconds to actually apply an image onto a garment. The printed color is transferred through heat, which converts the plastisol ink into the garment appeal. The heat coupled with pressure causes the glue to melt and penetrate the interior of the substrate, creating a permanent color bond. Once the heat is removed, the inks return to a solid form. And the process is complete.
With our heat transfers print solution, the hot melt glue is embedded in the substrate or fabric, rather than printed images on the surface, the fabric won’t fade or crack even after multiple washes.
Welcome to the world of ready-to-press transfers. If you are new to the world, and looking for the best how-to advice for working with heat transfers, then you are in the right place! Here is our complete beginner’s guide to using heat transfers, and I am here to show you how to use heat transfers to help you start making it!
To apply for heat press transfers, you will need a commercial heat press that can provide at least 12 lbs of pressure and 310° F of heat. Some customers have trouble transferring because the small heat press machines they buy can’t provide enough pressure and heat.