Don’t know how to download images from Cricut? We’re here to make it simple and to the point, plus give you a dash of inspiration. In this tutorial, you’ll learn how to export a higher-resolution image from Cricut.
As we all know that the Cricut Design Space won’t allow us to download the design file directly. There are two ways we can manger to make it.
The first one is to save offline and export the design image from the local folder. Unfortunately, the image file we find is just a preview and it’s very small (less than 500×500 pixels).
Another one is to take a screenshot instead. However, as the computer screen is 1920×1080 pixels usually, the screenshot we can take is around 800×800 pixels only, even if we make it as big as possible to fit the screen. And it’s not good enough for high-quality printing.
The easiest but rather clumsy way I find is to zoom up the image and take multiple screenshots instead of one single screenshot. Then combine multiple screenshots into a larger image with a photo editor like Photoshop.
The Ultimate Step-By-Step Guide to Export Design from Cricut
1. Remove the grid on the design.
Let’s start by clicking the corner in the left-top corner to get a clean background.
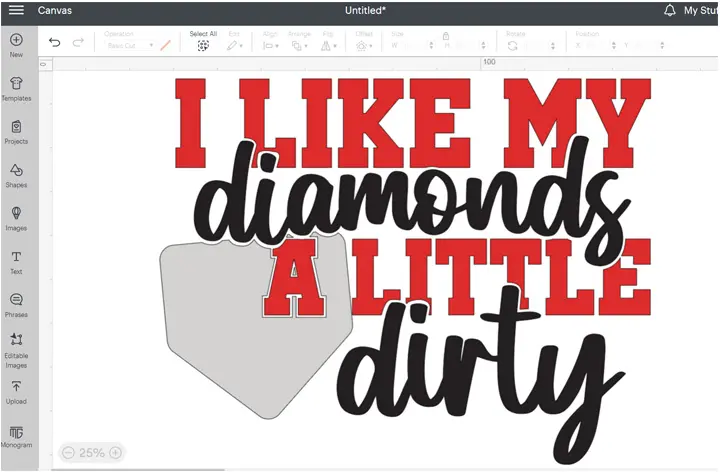
The grid is removed now.
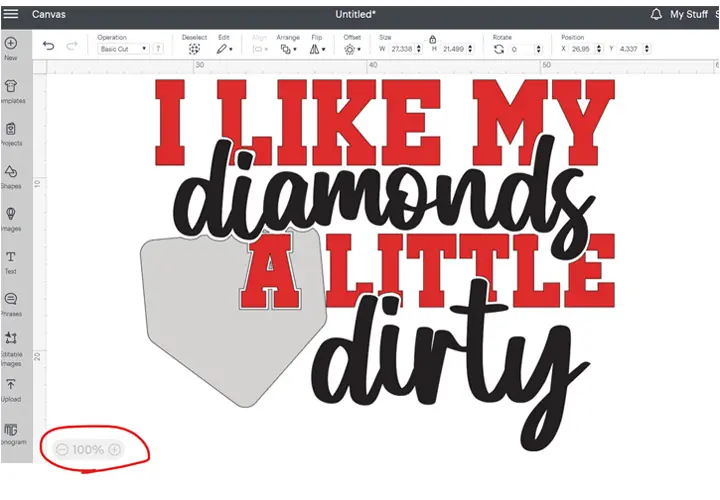
Second, enlarge the design
Change the zoom level in the bottom left corner to 25%.
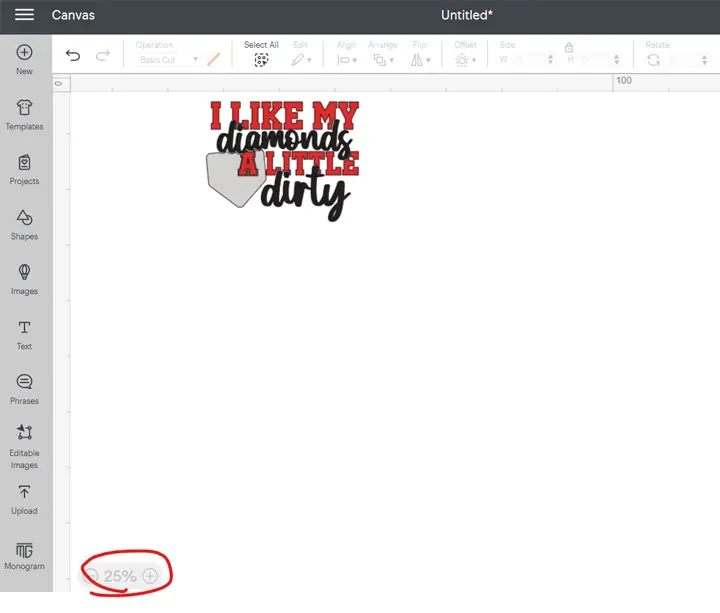
The design became very small on the canvas. We need to enlarge it to fit the screen again.
Then change the zoom level in the bottom left corner to 75~100%. The bigger you zoom out, the more screenshots you will need to take. But you will get a higher-resolution image finally.
Here I change the zoom level to 75%. As we’ve engaged the design in the last step, it is much bigger now, we see part of the design on the computer screen.
3. Take the screenshots and combine into a bigger image.
Use the Snipping Tool in Windows or shift-command-4 on a Mac to take a screenshot.
Scroll the design and take a screenshot of each part.
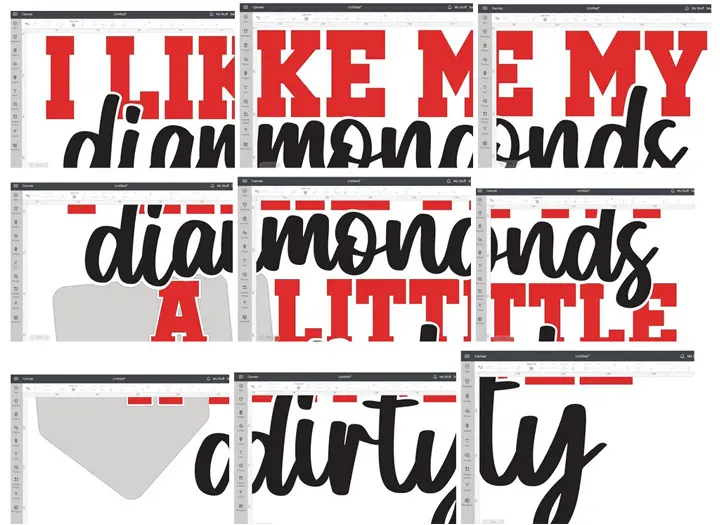
Once you take all the screenshots, the next step is to combine them in Photoshop, we will have a design file that is clear enough for printing. You can send us these screenshots by email. We will help to combine them into one image and remove the background.
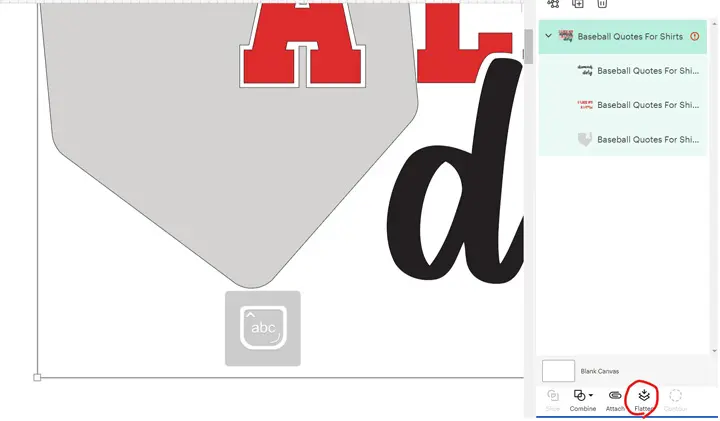
How to remove the cut lines around the design.
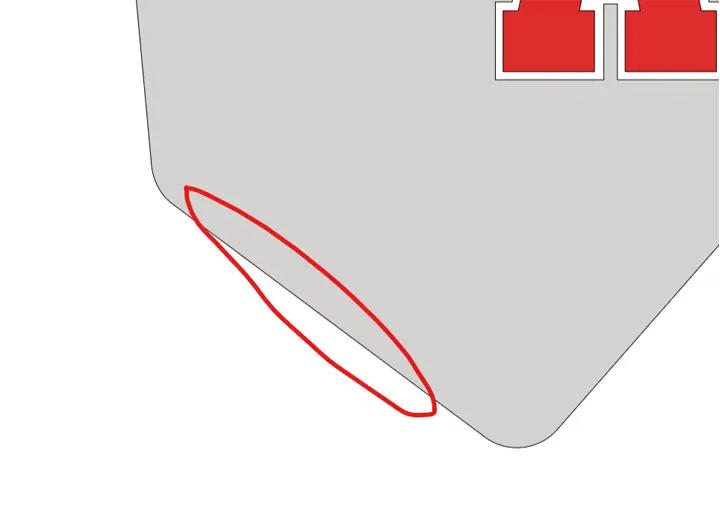
When you design in design space you have cut lines around the design. if you want to get rid of those cut lines, you can select the entire design and flatten it. Then those black lines around will be removed.